Welcome to Hawaiian Cooking 101! Before we tackle poke, plate lunch, or any other Hawaiian dish, we need to master the foundation: perfect rice.
In Hawaii, rice isn’t just a side dish—it’s the centerpiece of almost every meal. A plate lunch without properly cooked rice is like a beach without sand. Getting it right is non-negotiable.
I’ve been cooking rice since I could reach the counter, and I’ve made every mistake possible. This guide will help you skip my learning curve and nail it from the start.
Free: Hawaiian Cooking Starter Kit
Get 5 essential island recipes + a printable pantry checklist — everything you need to start cooking Hawaiian at home.
No spam, ever. Unsubscribe anytime.
Why Rice Matters in Hawaiian Cooking
Rice came to Hawaii with Asian plantation workers in the 1800s, and it quickly became the islands’ staple starch. Today, Hawaii consumes more rice per capita than any other U.S. state. It’s not just food—it’s culture.
The rice you serve affects everything that goes with it. Too wet, and it makes your poke bowl soggy. Too dry, and it won’t absorb the delicious gravy from your loco moco. Get it right, and every dish sings.
Choosing the Right Rice
Use short or medium grain rice. Long grain rice like Basmati or Jasmine won’t give you the slightly sticky texture that Hawaiian food requires. The grains should cling together enough to pick up with chopsticks, but not be mushy or gluey.
Recommended Brands
- Calrose – The most common choice in Hawaii, affordable and reliable
- Nishiki – Premium quality, slightly sweeter flavor
- Kokuho Rose – Excellent texture, a local favorite
- Botan – Great value, consistent results
- Tamaki Gold – Restaurant quality, worth the splurge
You’ll find these at any Asian grocery store, and most regular supermarkets carry Calrose and Nishiki. Buy the biggest bag your budget allows—you’ll use it.
The Washing Ritual
This step is non-negotiable. Unwashed rice equals gummy, starchy rice that clumps into a paste. The surface starch needs to go.
How to Wash Rice Properly
- Measure your rice into a large bowl or your rice cooker pot
- Cover with cold water (not warm—it starts the cooking process)
- Swirl gently with your hand, using a claw-like motion
- The water will turn cloudy white—that’s the starch releasing
- Carefully drain, tilting while holding the rice back
- Repeat 4-5 times until the water runs mostly clear
Yes, it takes a few minutes. Yes, it’s absolutely worth it. Some people skip this step and wonder why their rice never turns out right. Don’t be those people.
The Water Ratio
This is where most people go wrong. Forget what the package says—those instructions assume unwashed rice and don’t account for variables like altitude and rice age.
The Basic Ratio
1 cup rice to 1 cup water is the starting point, but here’s the key insight: after washing, your rice has already absorbed some water. So you need slightly less:
- 1 cup rice: Use 1 cup water (minus 1 tablespoon)
- 2 cups rice: Use 1¾ cups water
- 3 cups rice: Use 2½ cups water
- 4 cups rice: Use 3¼ cups water
The Knuckle Method
This old-school technique has worked for generations: Put your washed rice in the pot and level it flat. Touch your fingertip to the surface of the rice. Add water until it reaches your first knuckle (about 1 inch above the rice). This method automatically adjusts for the amount of rice you’re cooking.
Adjusting for Your Conditions
- New rice (recently harvested): Use slightly less water
- Old rice (been in your pantry a while): Use slightly more water
- High altitude: Use more water and longer cooking time
- Softer rice preference: Add 1-2 tablespoons more water
Cooking Methods
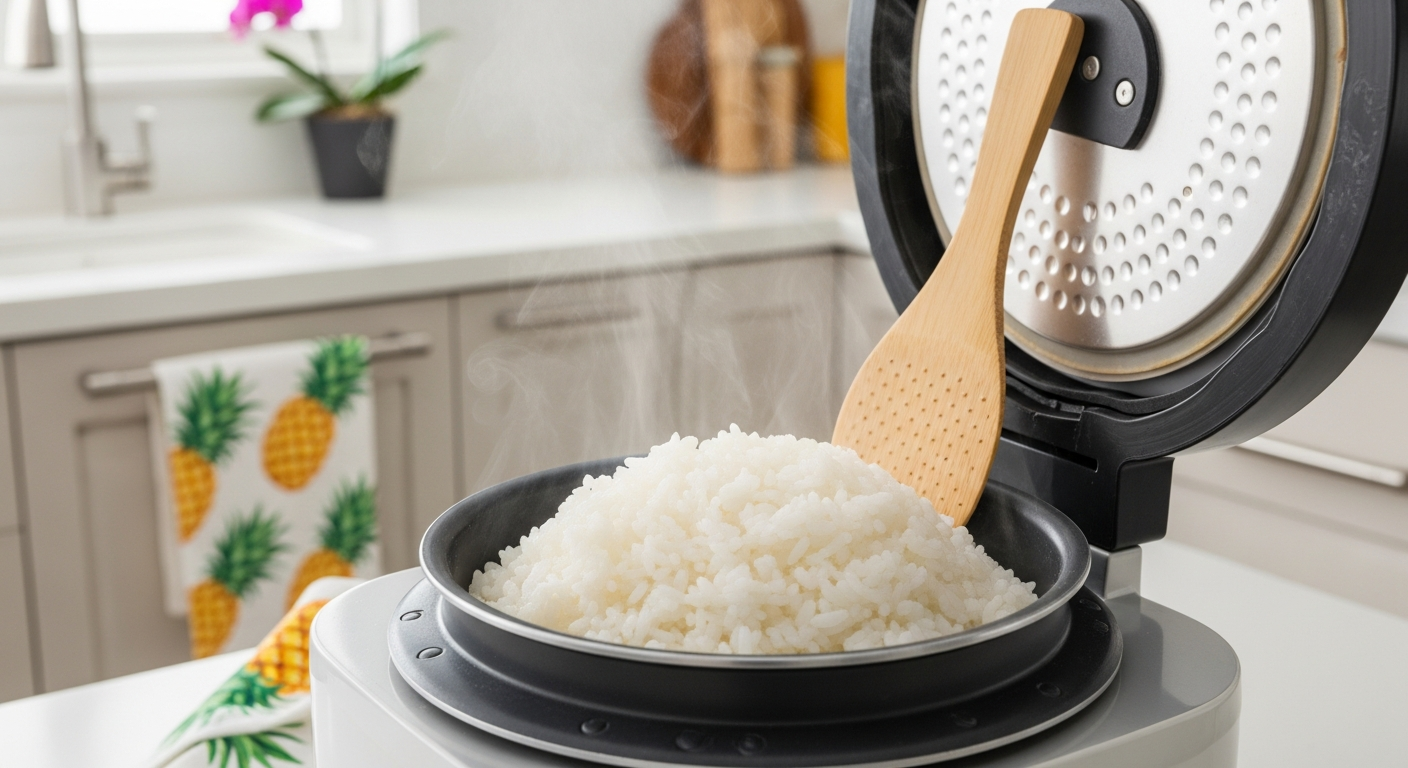
Rice Cooker (Highly Recommended)
A rice cooker is the single best investment for Hawaiian cooking. It’s foolproof, consistent, and frees up your stovetop and attention for everything else.
- Add washed, drained rice to the pot
- Add water according to the ratios above
- Wipe any water droplets from the outside of the pot (prevents sputtering)
- Close the lid and press start
- Wait for it to switch to “warm” mode
- Let rest 10 minutes—don’t skip this
- Fluff gently with a rice paddle, folding from the bottom
Even a basic $25 rice cooker will outperform most stovetop attempts. If you cook rice regularly, this is a no-brainer purchase.
Stovetop Method
No rice cooker? No problem. This method requires more attention but produces excellent results.
- Add washed rice and water to a heavy-bottomed pot with a tight-fitting lid
- Bring to a boil over high heat, uncovered
- When boiling, stir once to prevent sticking
- Reduce heat to the lowest possible setting
- Cover with the lid—DO NOT LIFT IT
- Cook for exactly 18 minutes
- Remove from heat (still covered) and let rest 10 minutes
- Fluff and serve
The cardinal rule: Do not lift the lid during cooking. Steam is doing the work, and every peek releases precious moisture.
Instant Pot Method
- Add washed rice and water (use a 1:1 ratio for Instant Pot)
- Close lid, set valve to sealing
- Pressure cook on low for 4 minutes
- Natural release for 10 minutes
- Quick release remaining pressure, fluff and serve
Troubleshooting Common Problems
Rice is mushy or wet
Cause: Too much water
Fix: Reduce water by 2 tablespoons next time. If it’s already cooked, spread on a sheet pan to steam off excess moisture.
Rice is hard or crunchy
Cause: Not enough water or cooking time
Fix: Add 2-3 tablespoons water, cover, and cook 5 more minutes on low heat. Next time, add more water.
Rice is burnt on the bottom
Cause: Heat too high or not enough water
Fix: Use lower heat and ensure water ratio is correct. A heavy-bottomed pot helps distribute heat evenly.
Rice is wet on top, dry on bottom
Cause: Skipped the resting time
Fix: Always let rice rest covered for 10 minutes after cooking. This redistributes moisture.
Rice is gummy or sticky-gluey
Cause: Didn’t wash the rice thoroughly
Fix: Wash until water runs clear next time. Also avoid stirring during cooking.
Pro Tips from Local Kitchens
- Never stir while cooking – It breaks the grains and releases more starch
- Use a rice paddle (shamoji) – Metal spoons can scratch non-stick coating and crush grains
- Fluff with a folding motion – Scoop from the bottom and fold over, don’t mash
- Make extra – Day-old rice is perfect for fried rice
- Keep it warm – Rice cookers keep rice perfect for hours
- Season the water – A pinch of salt and a drop of oil can enhance plain rice
Rice Variations for Hawaiian Dishes
For Poke Bowls
Use the standard method. You want slightly sticky rice that holds together but isn’t wet. Let it cool slightly before adding poke so it doesn’t warm the raw fish. See our complete poke guide for more tips.
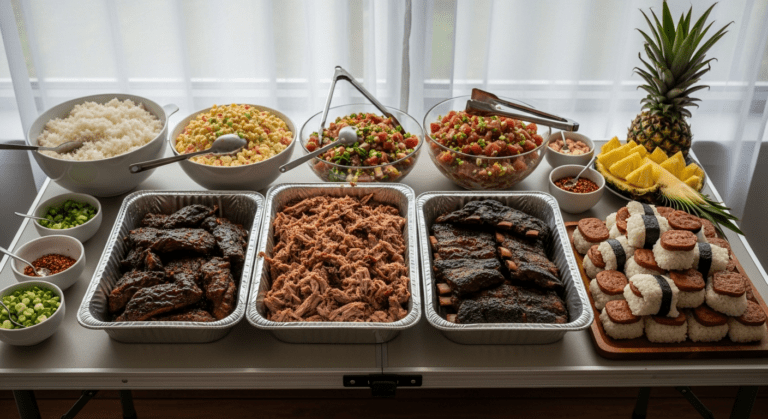
For Plate Lunch
Standard method works perfectly. For authentic presentation, use an ice cream scoop to portion two perfect mounds. The rice should hold its shape but not be gummy.
For Loco Moco
Freshly cooked, hot rice works best—it absorbs the gravy beautifully. Don’t let it cool before serving.
For Spam Musubi
Add 1 tablespoon rice vinegar and 1 teaspoon sugar to the water before cooking for lightly seasoned rice. The slight sweetness complements the salty Spam.
For Fried Rice
Use day-old refrigerated rice. Fresh rice is too moist and will turn mushy when fried. Spread fresh rice on a sheet pan and refrigerate uncovered for a few hours if you’re in a hurry.
Serving Hawaiian Style
In Hawaii, rice portions are measured in scoops:
- Two scoops – Standard plate lunch portion
- One scoop – “Diet” portion (locals will smile knowingly)
- Three scoops – When you’re really hungry
Use an ice cream scoop or onigiri mold for that authentic rounded dome shape. It’s not just presentation—it’s tradition.
Practice Makes Perfect
Here’s your homework: Cook rice three times this week using these instructions. Pay attention to the results each time and adjust your water ratio until it’s perfect for your specific rice, cooker, and preferences.
By the third batch, you’ll have it dialed in. This is the foundation of Hawaiian cooking—master this, and every dish you make will be better for it.
Ready to put your perfect rice to use? Try one of our poke recipes or explore our plate lunch guide.
Questions? Drop them in the comments below.
– Curtis