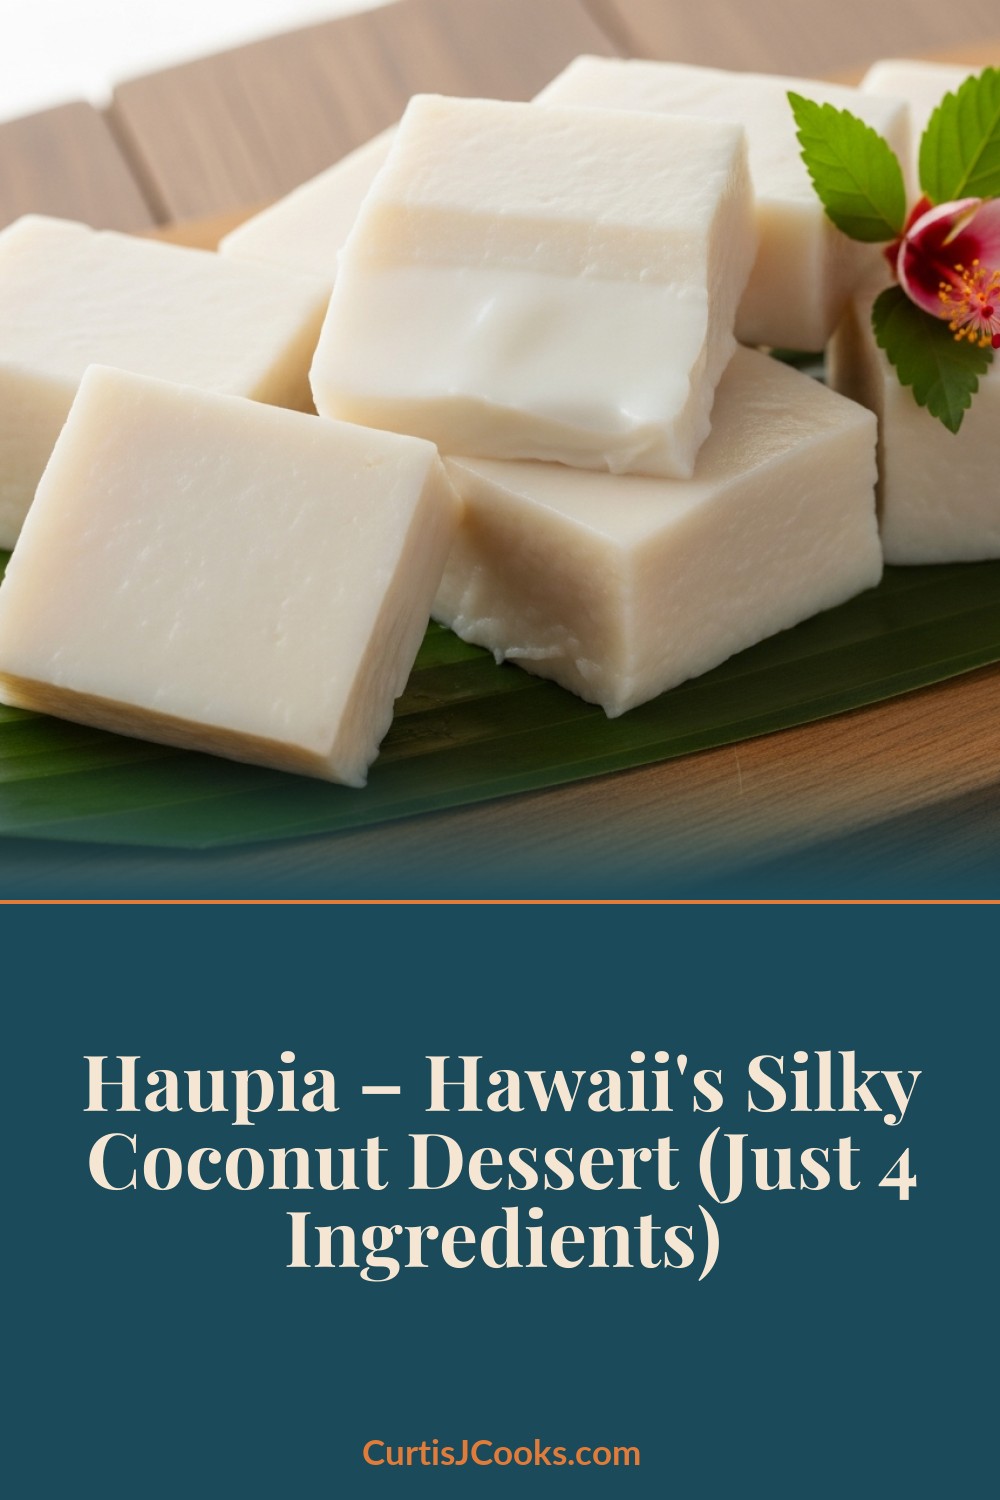
Haupia is Hawaii’s coconut pudding — a simple, silky dessert made from coconut milk and cornstarch that’s been a fixture at luaus, potlucks, and family gatherings for generations. It sets firm enough to cut into squares, jiggles on the plate, and tastes like pure, clean coconut.
Four ingredients. No baking. Twenty minutes of active work. And the result is something that disappears faster than anything else on the dessert table.
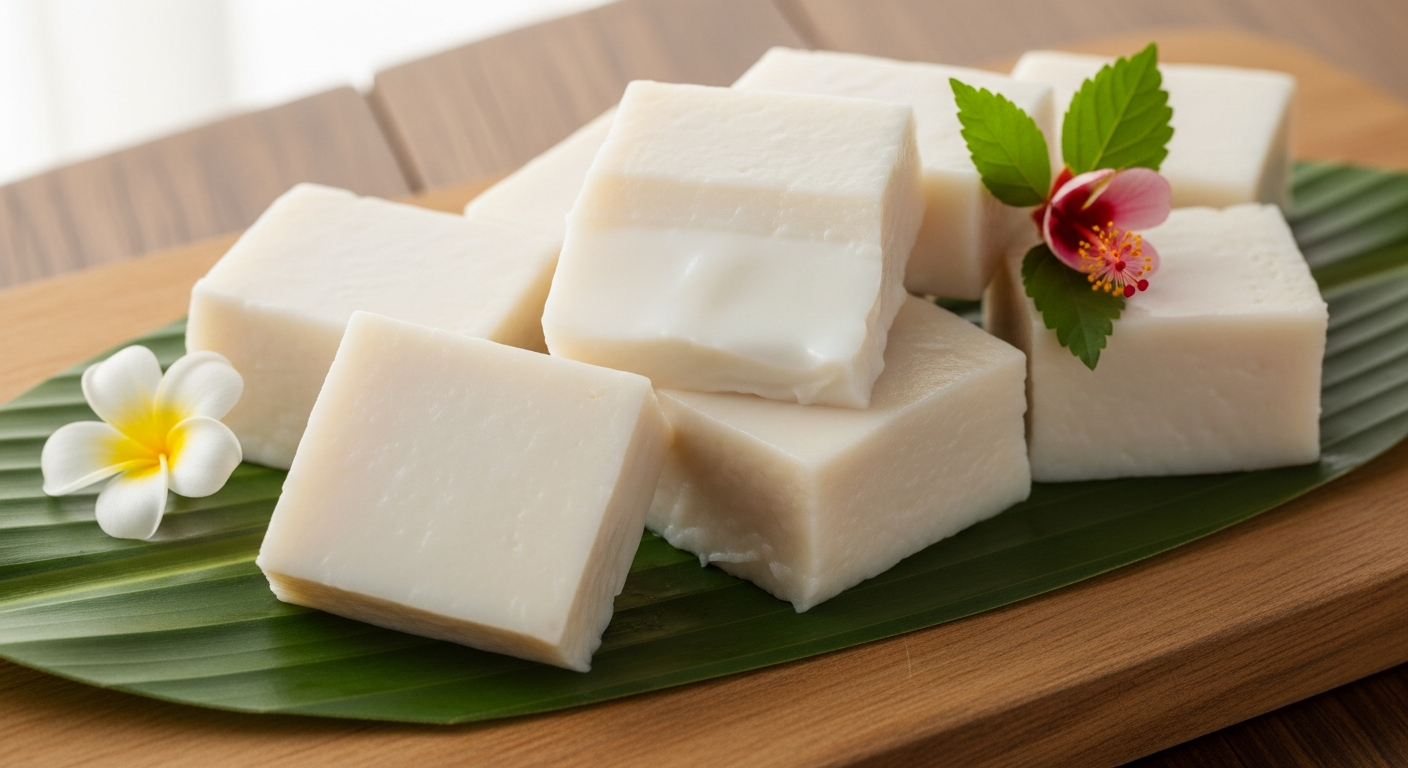
If you’ve been to a luau or any Hawaiian celebration, you’ve had haupia. It’s the white squares on the banana leaf, the dessert that kids and adults reach for before anything else. It’s also the base for haupia pie, haupia-chocolate bars, haupia cake, and about a dozen other Hawaiian desserts. Master this recipe and you’ve unlocked an entire category of island sweets.
Free: Hawaiian Cooking Starter Kit
Get 5 essential island recipes + a printable pantry checklist — everything you need to start cooking Hawaiian at home.
No spam, ever. Unsubscribe anytime.
What Is Haupia
Haupia (how-PEE-ah) is a traditional Hawaiian dessert that’s been made on the islands for centuries. The original version used coconut cream extracted from fresh coconut meat, thickened with arrowroot (pia). The modern version uses canned coconut milk and cornstarch, which is easier and produces almost identical results.
It’s not quite a pudding, not quite a gelatin dessert — it’s somewhere in between. Firm enough to pick up with your fingers, soft enough to melt on your tongue. The texture is unique and the coconut flavor is pure and unmasked by sugar or vanilla or anything else.
Ingredients
- 2 cans (13.5 oz each) full-fat coconut milk — shake well before opening
- 1/2 cup sugar
- 6 tablespoons cornstarch
- Pinch of salt
That’s it. Four ingredients. Don’t use light coconut milk — the full-fat version is what gives haupia its rich, creamy texture and real coconut flavor.
Instructions
- Make the slurry. In a medium bowl, whisk 1/2 cup of the coconut milk with the cornstarch until completely smooth. No lumps. This is your thickening agent.
- Heat the coconut milk. Pour the remaining coconut milk into a medium saucepan. Add the sugar and salt. Heat over medium heat, stirring occasionally, until the sugar dissolves and the mixture is hot but not boiling. About 3-4 minutes.
- Add the slurry. Give the cornstarch slurry one more whisk, then pour it into the hot coconut milk while stirring constantly. Keep stirring — the mixture will start to thicken within a minute or two.
- Cook until thick. Continue stirring over medium heat for 5-7 minutes. The mixture will go from thin and milky to thick and glossy. You’ll know it’s ready when it coats the back of a spoon and holds a trail when you drag your finger through it. It should be the consistency of thick pudding.
- Pour into the pan. Pour the mixture into an 8×8 or 9×9 inch pan. Smooth the top with a spatula. The layer should be about 3/4 inch thick.
- Chill. Let it cool to room temperature, then cover with plastic wrap and refrigerate for at least 2-3 hours until firm. Overnight is even better.
- Cut and serve. Run a knife under warm water, then cut the haupia into squares (roughly 1.5 to 2 inches). Lift them out with a spatula. Traditionally served on ti leaves or banana leaves.
The Keys to Perfect Haupia
Full-fat coconut milk only. Light coconut milk makes weak, watery haupia. You want the thick, rich stuff. Give the can a good shake before opening to mix the cream and water together.
Whisk out every lump. The cornstarch slurry must be perfectly smooth before you add it. Any lumps in the slurry become lumps in your haupia, and nobody wants lumpy haupia.
Stir constantly. Once you add the slurry, don’t stop stirring. Cornstarch can seize and get lumpy if you let it sit on the bottom of the pot. A flat whisk works great, but a wooden spoon is fine too.
Don’t rush the chilling. Haupia needs time to set properly. Two hours minimum, but three or four is better. Overnight gives you the cleanest cuts and firmest texture.
Keep it simple. Traditional haupia doesn’t have vanilla extract, cream of coconut, or condensed milk. Those are fine for variations, but classic haupia relies on the coconut to do all the work. Good coconut milk makes good haupia. Period.
Serving Haupia
Haupia shows up everywhere in Hawaiian food culture:
- At luaus — cut into squares on a banana leaf, the traditional way. It’s always on the dessert table at any luau.
- At plate lunch counters — as the dessert option alongside your plate lunch.
- At potlucks — haupia is the ultimate make-ahead dessert. It travels well and serves a crowd.
- After a big Hawaiian meal — its light coconut flavor is the perfect finish after heavy dishes like kalua pig and mac salad.
Haupia Variations
Once you’ve mastered basic haupia, the variations are endless:
Haupia Pie: Pour haupia into a pre-baked pie shell, top with whipped cream and toasted coconut. Simple and stunning.
Chocolate Haupia Pie: The legendary dessert — a chocolate pudding layer topped with a haupia layer in a pie crust. This is the one that Ted’s Bakery on the North Shore made famous.
Haupia Cake: Use haupia as a filling or frosting for layer cakes. It pairs beautifully with chocolate or vanilla cake.
Haupia with Fruit: Top haupia squares with fresh mango, pineapple, or passion fruit (lilikoi) for a tropical fruit dessert.
For more Hawaiian dessert ideas, explore the Complete Hawaiian Desserts Guide.
Storage
Haupia keeps in the fridge for 3-4 days, covered with plastic wrap. It doesn’t freeze well — the texture gets grainy after thawing. But honestly, haupia rarely survives more than a day in most Hawaiian households. It’s one of those things that people “just take one more piece” of until the pan is empty.
For more Hawaiian desserts and treats, check out the Hawaiian Desserts Guide. And make sure your pantry is stocked with the right coconut milk — our Essential Hawaiian Pantry Guide has recommendations.