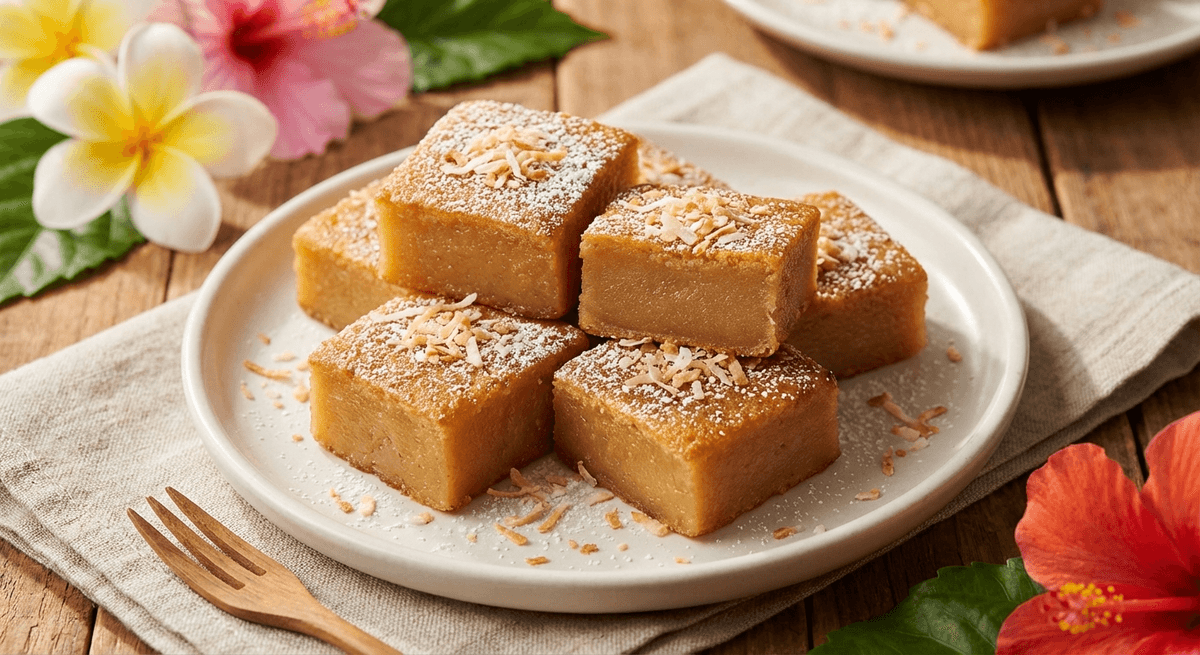
Butter mochi is the dessert that every newcomer to Hawaii discovers and immediately becomes obsessed with. It’s a simple baked bar — made from mochiko (sweet rice flour), butter, sugar, eggs, coconut milk, and vanilla — that comes out of the oven with a crispy golden top and a soft, impossibly chewy interior. The texture is unlike any other baked good you’ve ever had. It’s not cake, it’s not brownie, it’s not custard. It’s mochi: dense, chewy, slightly sticky, and completely addictive.
If you’ve ever had Japanese mochi (the pounded rice cakes), imagine that texture but baked, buttery, and infused with coconut milk. That’s butter mochi. It’s one of the easiest Hawaiian desserts to make, everything goes into one bowl, mix, pour, bake, and it’s one of the most universally loved. I have never brought butter mochi to a gathering and brought any home. It disappears. Every time.
A Local Creation
Butter mochi is a uniquely Hawaiian invention, born from the meeting of Japanese and Western baking traditions. Mochiko, the sweet glutinous rice flour that gives mochi its distinctive chewy texture, came to Hawaii with Japanese immigrants. At some point, a brilliant home cook (whose name is lost to history) had the idea of combining mochiko with butter, eggs, and coconut milk and baking it like a cake. The result bridged two worlds: the chewy Japanese mochi tradition and the familiar American sheet cake format.
The addition of coconut milk is pure Hawaii — tropical, rich, and aromatic. Some versions use evaporated milk instead, and those are good too, but the coconut milk version is the one that tastes like the islands. It’s the version you’ll find at bake sales, potlucks, school fundraisers, and every local bakery in Hawaii.
Why It Works
The magic of butter mochi is in the mochiko. Unlike regular flour, mochiko is made from glutinous (sticky) rice that’s been ground into a fine powder. When mixed with liquid and baked, it creates that distinctive chewy, slightly elastic texture that’s completely unlike anything wheat flour can produce. The butter adds richness and creates the crispy top crust. The coconut milk provides moisture, flavor, and a subtle sweetness. The eggs bind everything together and help it set.
The genius of the recipe is that all these simple ingredients combine to create a texture that’s genuinely unique — crispy on top, chewy-soft in the middle, with a clean coconut-vanilla flavor that’s sweet but not cloying.
Mix
Bake
Cool and Cut
Variations
- Ube butter mochi: Add 2-3 tablespoons of ube extract (or 1/2 cup ube halaya paste) to the batter for a gorgeous purple version with a subtle, sweet taro-like flavor. This has become incredibly popular.
- Chocolate butter mochi: Add 1/3 cup cocoa powder to the dry ingredients. Rich and fudgy with that signature chewy texture.
- Matcha butter mochi: Add 2 tablespoons matcha powder to the dry ingredients. The slight bitterness of the matcha balances the sweetness beautifully.
- Haupia butter mochi: Replace the evaporated milk with an extra can of coconut milk for a more intense coconut flavor. Top with a layer of haupia (coconut pudding) before baking.
- Mango butter mochi: Fold 1 cup of diced fresh mango into the batter before pouring into the pan. Tropical perfection.
Tips for Perfect Butter Mochi
- Use mochiko, not regular rice flour. This is the most common mistake. Regular rice flour will not give you the chewy texture. You need mochiko (glutinous/sweet rice flour) specifically. The Koda Farms Blue Star brand in the red and white box is what every Hawaiian kitchen uses. As mentioned in our Essential Hawaiian Pantry guide, mochiko is a worth-having ingredient.
- Full-fat coconut milk only. Lite coconut milk doesn’t have enough fat to create the right texture and richness.
- Let it cool completely. Warm butter mochi is gooey and formless. Cool butter mochi is chewy, sliceable, and has the proper texture contrast between the crispy top and soft interior.
- Store at room temperature. Butter mochi keeps well at room temp for 2-3 days, covered. Refrigerating it changes the texture, the mochi gets firm and loses its chew. If you do refrigerate it, let it come back to room temperature before eating.
- Freezes well: Cut into squares, wrap individually in plastic wrap, and freeze for up to a month. Thaw at room temperature.
The Potluck Champion
If you need to bring something to a party and you want it to disappear, make butter mochi. It travels well (doesn’t need refrigeration), it’s easy to cut and serve, it appeals to basically everyone (including gluten-sensitive folks — mochiko is naturally gluten-free), and it’s different enough from standard desserts that it always starts conversations. “What IS this?” is the question you’ll hear, followed by, “Can I have the recipe?”
If you love the chewy mochi texture, try our mochi ice cream for another Hawaiian-Japanese dessert that’s just as addictive.
Yes. Yes you can. Here it is.
Prep Time: 10 minutes | Bake Time: 55-65 minutes | Cool Time: 2 hours | Makes: 24 squares


