There’s a reason every beachside restaurant in Hawaii has coconut shrimp on the menu. It’s the dish that tastes exactly like where you are — tropical, a little sweet, impossibly crispy, and gone before you’re ready for it to be over.
The concept is simple: butterfly a shrimp, dip it in batter, roll it in shredded coconut, and fry it until golden. But the difference between mediocre coconut shrimp and the kind that makes you close your eyes is all in the details — how you prep the shrimp, the ratio of coconut to panko, and the temperature of the oil.
This version gives you a shatteringly crispy coating with real coconut flavor in every bite, not the bland, thick-battered version you get at chain restaurants on the mainland. Serve it with a sweet chili dipping sauce and watch the plate empty in minutes.
What Makes Great Coconut Shrimp
Three things separate restaurant-quality coconut shrimp from disappointing coconut shrimp:
The coconut has to be shredded, not flaked. Sweetened shredded coconut gives you those crispy, golden strands that catch the heat and turn into a crunchy shell around the shrimp. Flaked coconut is too flat and doesn’t create the same texture. And yes, sweetened — the slight sweetness is part of what makes coconut shrimp coconut shrimp.
Mix coconut with panko. Pure coconut burns too fast. A 2:1 ratio of shredded coconut to panko breadcrumbs gives you the coconut flavor and aroma while the panko adds structure and keeps the coating from getting too dark before the shrimp cooks through.
The oil temperature matters. 350°F is the sweet spot. Too hot and the coconut burns before the shrimp cooks. Too cool and the coating absorbs oil and goes soggy. Use a thermometer — don’t guess.
Shrimp
Sweet Chili Dipping Sauce
The Dipping Sauce Makes It
The sweet-tart-savory dipping sauce is what ties the whole thing together. The sweet chili sauce gives you heat and sweetness, the lime juice adds brightness, and the fish sauce brings that umami depth that makes you keep dipping. You can use store-bought sweet chili sauce straight from the bottle if you’re in a rush, but the lime and fish sauce additions take it from good to addictive.
Other dipping options that work: a good ponzu sauce, honey mustard, or even a spicy mayo made with Sriracha and Kewpie mayonnaise.
Serve It With
Coconut shrimp works as a pupu (appetizer) for a crowd or as a main dish with sides:
- As a pupu: Pile them on a platter with dipping sauce. They’ll disappear at your next backyard party.
- Plate lunch style: Serve with two scoops rice, mac salad, and extra dipping sauce for a proper plate.
- With a salad: A simple cabbage slaw with lime dressing keeps things lighter.
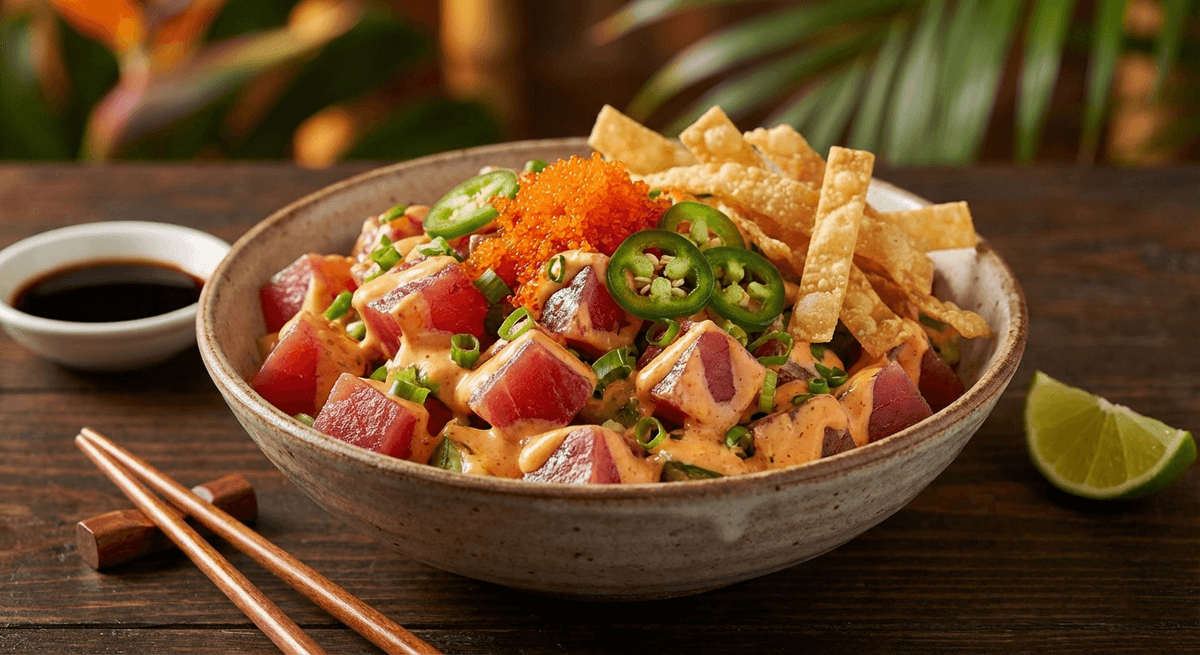
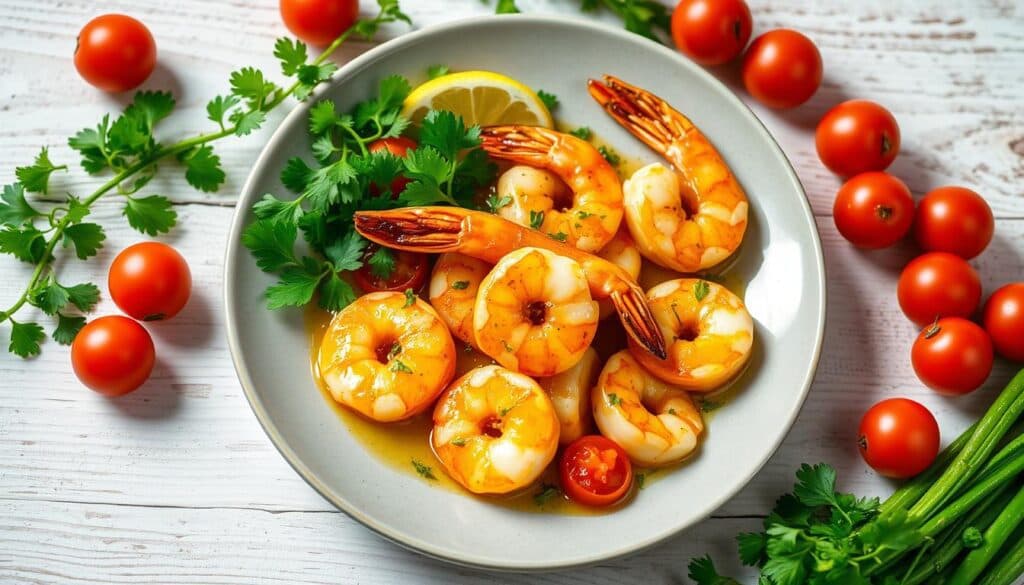
- Alongside other seafood: Pair with garlic shrimp for a shrimp feast, or serve next to poke for a surf-and-surf spread.
Tips for Perfect Coconut Shrimp
Pat the shrimp bone dry. Wet shrimp = coating slides off in the oil. Take the extra 30 seconds with paper towels. It makes all the difference.
Press the coconut on firmly. Don’t just sprinkle it — use your hands to really pack the coconut-panko mixture onto each shrimp. You want a thick, even coating.
Don’t skip the flour step. The flour creates a dry surface for the egg to grip, and the egg creates a sticky surface for the coconut to grip. Skip any step and the coating falls off in the fryer.
Fry in small batches. 4-5 shrimp at a time, max. Crowding drops the oil temperature and gives you greasy, limp shrimp instead of crispy ones. Let the oil come back to 350°F between batches.
Wire rack, not paper towels. Drain on a wire rack so air circulates underneath. Paper towels trap steam against the bottom and make the coating soggy.
Serve fast. Coconut shrimp is best within 5 minutes of frying. The coating starts losing its crunch as it sits. If you’re making a big batch, keep finished shrimp warm in a 250°F oven on a wire rack while you fry the rest.
Storage
Honestly, coconut shrimp is best eaten fresh. Leftovers can be stored in the fridge for a day and reheated in a 400°F oven for 8-10 minutes to re-crisp the coating, but they’ll never be quite as good as fresh out of the fryer. Plan your portions accordingly — this recipe serves 4 as an appetizer or 2 as a main dish, and people always eat more than you think they will.
Looking to expand your Hawaiian seafood repertoire? Check out the Complete Poke Guide, try North Shore Garlic Shrimp, or explore all the seafood recipes in the Plate Lunch Guide. For pantry staples like fish sauce and sweet chili sauce, see the Essential Hawaiian Pantry Guide.