
Growing up in Hawai’i, my grandmother’s cast iron skillet was the most sacred thing in her kitchen — right after her rice cooker. That pan had decades of seasoning built up, layer after layer from countless batches of fried rice, char siu pork, and crispy mochiko chicken. She never let anyone wash it with soap. “You wash away the flavor,” she’d say, waving her wooden spoon at us like a warning. When she passed it down to my mom, it was like handing over a family heirloom, because that’s exactly what it was.
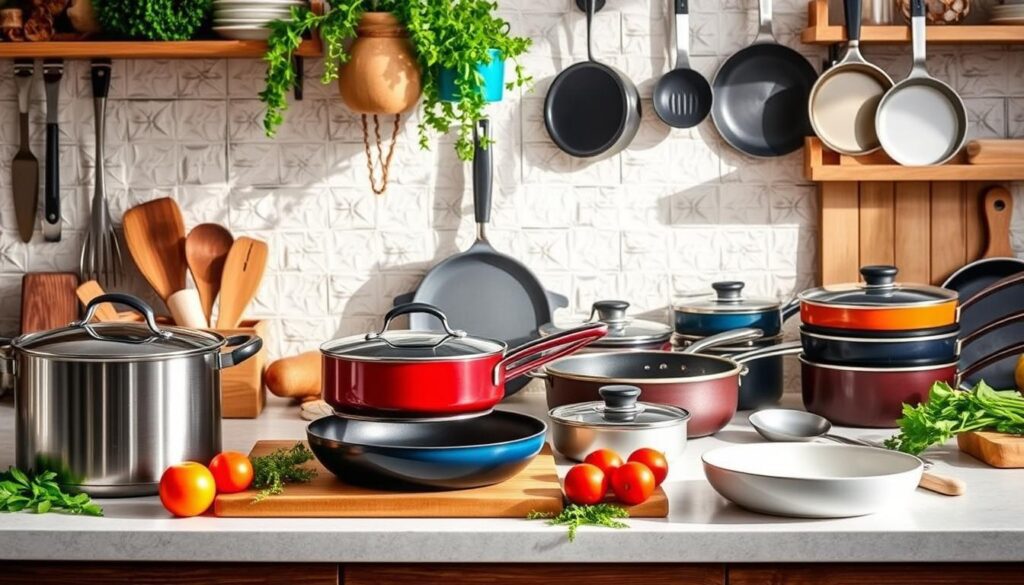
If you’re serious about cooking Hawaiian food at home, especially on the mainland, a well-seasoned cast iron pan is one of the best investments you can make. It gives you the kind of intense, even heat that Hawaiian cooking demands, the sear on your char siu, the crispiness of your fried rice, the caramelized edges of your Spam musubi. Let me walk you through how to season one properly, the way it’s done in local kitchens. For help choosing the right pan, see our guide on why every Hawaiian kitchen needs a cast iron skillet.
What Is Cast Iron Seasoning?
Seasoning isn’t about spices, it’s about building up a natural, non-stick coating on the surface of your cast iron pan. When you heat oil on cast iron past its smoke point, the oil undergoes a chemical process called polymerization. It bonds to the iron and creates a slick, durable surface that gets better with every use.
Think of it like this: every time you fry an egg, sear a piece of fish, or make a batch of fried rice, you’re adding another microscopic layer of seasoning. Over time, the pan becomes practically non-stick — without any of the chemicals found in modern coatings.
Why This Matters in Hawaiian Cooking
Hawaiian cooking relies heavily on high-heat techniques. You need serious heat to get the wok hei-style char on fried rice. You need it to properly caramelize the sugar in char siu glaze. You need it to get that crispy, golden crust on mochiko chicken or pan-fried fish.
A well-seasoned cast iron pan delivers all of this. Here’s why it’s essential for Hawaiian dishes:
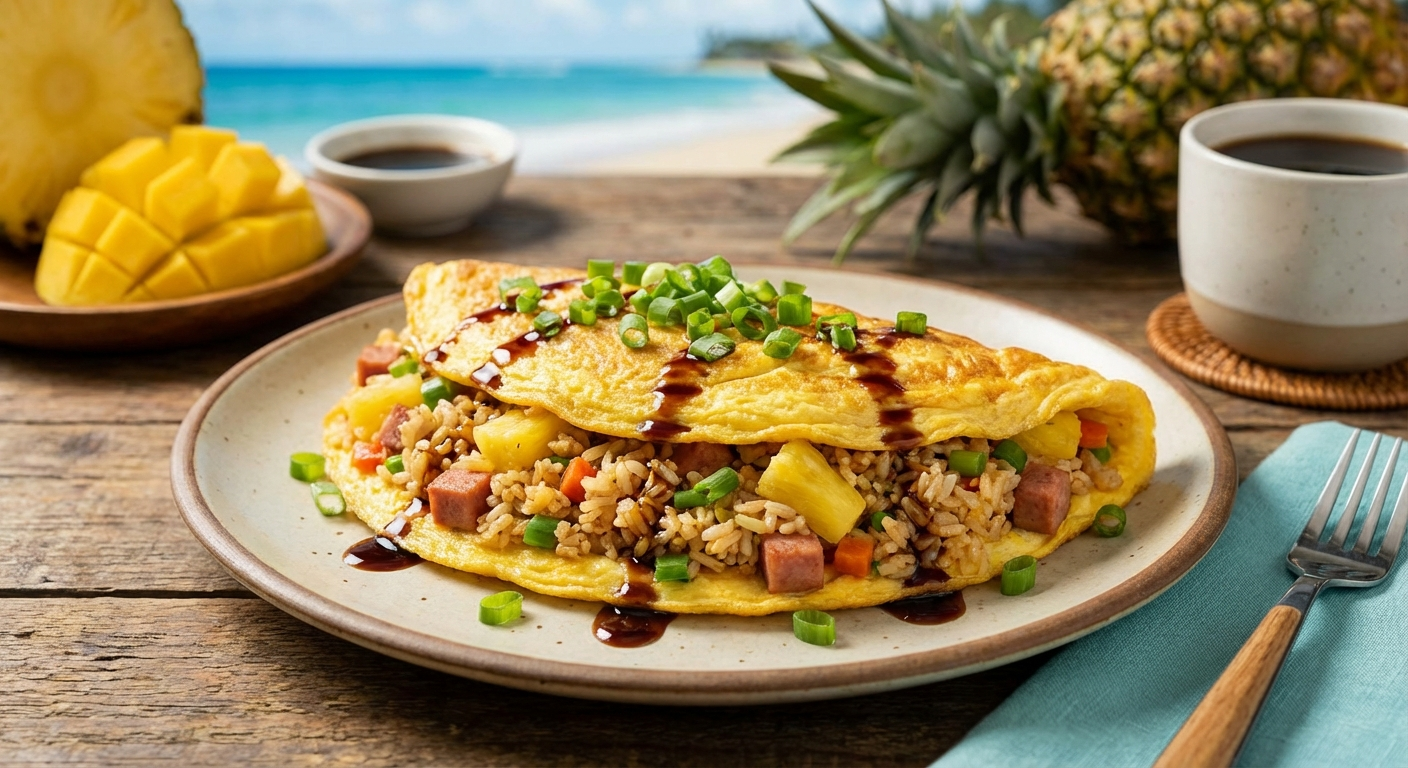
- Fried Rice (Chahan): Cast iron holds heat so well that your rice gets that coveted crispy texture instead of turning mushy. The high heat means less steaming and more frying.
- Char Siu Pork: The sugar-heavy glaze needs intense, even heat to caramelize without burning. Cast iron distributes heat perfectly for this.
- Pan-Fried Fish: Whether it’s mahi mahi or ono, a seasoned cast iron gives you a beautiful crust while keeping the inside moist and flaky.
- Spam Musubi: Crispy, caramelized Spam slices start in a hot cast iron pan. The seasoning prevents sticking, even with the sugary shoyu glaze.
- Loco Moco: A perfectly seared hamburger patty with a deep brown crust is the foundation of a great loco moco, and cast iron is the tool for the job.
- Hamburger Steak: Those gravy-smothered patties need a good sear before they get smothered, and cast iron delivers the caramelization that makes this plate lunch classic sing.
Many of the essential Hawaiian ingredients involve sticky marinades and sugary glazes — exactly the kind of cooking that benefits from a properly seasoned surface.
How to Season Your Cast Iron Pan: Step by Step
What You’ll Need
- A cast iron skillet (10-inch or 12-inch is most versatile)
- Flaxseed oil, vegetable oil, or Crisco shortening
- Paper towels or a lint-free cloth
- Aluminum foil
- An oven
Step 1: Clean the Pan
If your pan is brand new, wash it with warm water and a small amount of mild soap, this is the one and only time you’ll use soap on it. If it’s a vintage or used pan with rust, scrub it with coarse salt and a stiff brush until the rust is gone, then rinse and dry completely.
Step 2: Dry Thoroughly
Place the pan on a burner over low heat for a few minutes to evaporate every last bit of moisture. Moisture is the enemy of cast iron, it causes rust. This step is crucial.
Step 3: Apply a Thin Layer of Oil
Pour a small amount of oil onto a paper towel and rub it all over the pan — inside, outside, and the handle. Then take a clean, dry paper towel and wipe off as much oil as you can. It should look almost dry. This is the key that most people get wrong: too much oil creates a sticky, uneven coating. Less is more.
Step 4: Bake Upside Down
Place the pan upside down on the middle rack of your oven with a sheet of aluminum foil on the rack below to catch any drips. Heat the oven to 450°F and bake for one hour. Then turn off the oven and let the pan cool completely inside — don’t rush this step.
Step 5: Repeat
For a brand new pan, repeat steps 3 and 4 at least three to four times. Each round builds another layer of seasoning. After four rounds, your pan will have a solid base layer and be ready for cooking.
Maintaining Your Seasoning
Here’s where the real magic happens. Day-to-day maintenance is what transforms a good pan into a great one.
After Every Use
- While the pan is still warm (not scorching hot), rinse it under hot water.
- Use a stiff brush or chain mail scrubber to remove any stuck-on bits. No soap.
- Dry immediately and thoroughly — I put mine back on the burner for a minute.
- Rub a very thin layer of oil over the cooking surface with a paper towel.
- Store in a dry place. If stacking, place a paper towel between pans.
What to Cook First
For the first few weeks, cook fatty, forgiving foods to build up your seasoning:
- Bacon or Portuguese sausage
- Fried Spam slices
- Pan-fried chicken thighs
- Stir-fried vegetables with plenty of oil
Avoid acidic foods like tomato-based sauces and citrus-heavy marinades until your seasoning is well established, they can strip away the coating on a newer pan.
Troubleshooting Common Issues
Sticky Surface
This usually means too much oil was applied during seasoning. Place the pan in a 450°F oven for an hour to let the excess polymerize, or scrub it back and re-season with thinner layers.
Rust Spots
Scrub the rust with coarse salt and oil, rinse, dry on the burner, and re-season. Usually happens if the pan was stored wet or in a humid environment.
Food Sticking
Make sure you preheat your pan before adding oil, and preheat the oil before adding food. A properly heated, well-seasoned pan should release food easily.
Key Things to Know
- Seasoning is built over time. Every time you cook, you add another layer. Use your pan often.
- Thin layers are better than thick. Wipe off as much oil as you can before baking, it should look almost dry.
- No soap after the initial wash. Hot water and a stiff brush are all you need for daily cleaning.
- Dry immediately after washing. Moisture causes rust, which undoes your hard work.
- Cast iron is perfect for Hawaiian cooking. The high heat retention and natural non-stick surface are ideal for fried rice, char siu, and all those sticky-sweet glazes.
- Start with fatty foods. Bacon, Spam, and Portuguese sausage are your pan’s best friends in the early weeks.
A well-seasoned cast iron pan connects you to the way food has been cooked in Hawaiian kitchens for generations. It’s not fancy, it’s not popular, it’s just incredibly effective. Once you’ve built up a good seasoning, you’ll understand why my grandmother guarded hers so fiercely. Now get cooking — your perfect plate lunch is waiting. And for a complete look at all the tools you need, browse our essential cookware for Hawaiian cooking guide.


