Before you read
Rice is not background here.
In Hawaii, rice carries sauces, anchors proteins, and decides whether the whole plate feels right. CurtisJ's advice is to stop treating it like filler and cook it with the same care you give the main dish.
In Hawaii, rice isn’t a side dish, it’s the foundation. It’s the bed under your loco moco, the wrapper in your spam musubi, the scoop on every plate lunch. Get the rice wrong and nothing else matters. Get it right and even the simplest meal feels complete.
This guide covers everything: choosing the right rice, the stovetop method, the rice cooker method, seasoned sushi rice for musubi and poke bowls, and how to fix the most common mistakes. If you only master one kitchen skill for Hawaiian cooking, make it this one.
Choosing the Right Rice
Not all rice is created equal, and the type you choose matters more than technique. Here’s what works for Hawaiian cooking:
Medium-Grain White Rice (The Island Standard)
Calrose rice is what you’ll find in virtually every Hawaiian kitchen. It’s a medium-grain variety developed in California that strikes the perfect balance: sticky enough to hold together in a musubi or scoop with chopsticks, but not so sticky it becomes gummy. Brands like Nishiki, Kokuho Rose, and Botan are all solid choices.
If you see “medium-grain” on the bag and it was grown in California, you’re almost certainly looking at a Calrose variety. This is your default.
Short-Grain (Sushi Rice)
Slightly stickier and more compact than Calrose. Great for musubi and sushi rolls where you need the rice to hold its shape firmly. Brands like Tamaki Gold and Koshihikari are premium choices — noticeably better but also pricier.
Jasmine Rice
A long-grain rice with a floral aroma. It’s not traditional for Hawaiian cooking, the grains are too separate and don’t hold together for musubi or plate lunch. But some people prefer it for poke bowls or Thai-influenced dishes. Use it when you want fluffy, distinct grains rather than the sticky, scoopable texture local food demands.
Brown Rice
A healthier option that works in poke bowls and alongside grilled fish. It takes longer to cook and has a chewier, nuttier character. It won’t work for musubi, not sticky enough. Medium-grain brown rice is your best bet if you go this route.
Step One: Washing the Rice
This is the step most people skip and the reason most people’s rice is mediocre. Washing removes surface starch that causes gumminess and a slightly off flavor. It takes two minutes and makes a real difference.
- Put your measured rice in a large bowl or directly in your rice cooker pot.
- Add cold water until the rice is covered by a couple inches.
- Swirl the rice gently with your hand, the water will turn cloudy white.
- Carefully pour off the milky water (tip the bowl at an angle and use your hand to catch the grains).
- Repeat 3–4 times until the water runs mostly clear. It doesn’t need to be crystal clear — slightly hazy is fine.
Don’t scrub aggressively. You’re rinsing, not scouring. Rough handling breaks the grains and makes the rice mushy.
Stovetop Method
This method works with any pot that has a tight-fitting lid. A heavy-bottomed pot is ideal, it distributes heat evenly and reduces scorching.
The Ratio
For medium-grain Calrose rice: 1 cup rice to 1¼ cups water. This is slightly less water than the 1:1.5 ratio printed on most bags — trust this ratio for properly washed rice. If you skipped washing, use a full 1:1.5.
The Steps
- Combine rice and water in your pot after washing. Let it soak for 20-30 minutes if you have time (optional but improves texture).
- Bring to a boil over medium-high heat with the lid on. You’ll hear it start to bubble — lift the lid briefly to confirm.
- Reduce to the lowest heat setting. Put the lid back on and set a timer for 15 minutes. Don’t lift the lid. Don’t stir. Walk away.
- Turn off the heat and let it sit, lid still on, for 10 minutes. This resting period is essential, it lets the moisture redistribute evenly through the rice.
- Fluff with a rice paddle or fork. Use gentle, cutting motions — don’t mash or stir vigorously.
That’s it. 15 minutes of cooking, 10 minutes of resting, and you have perfect rice.
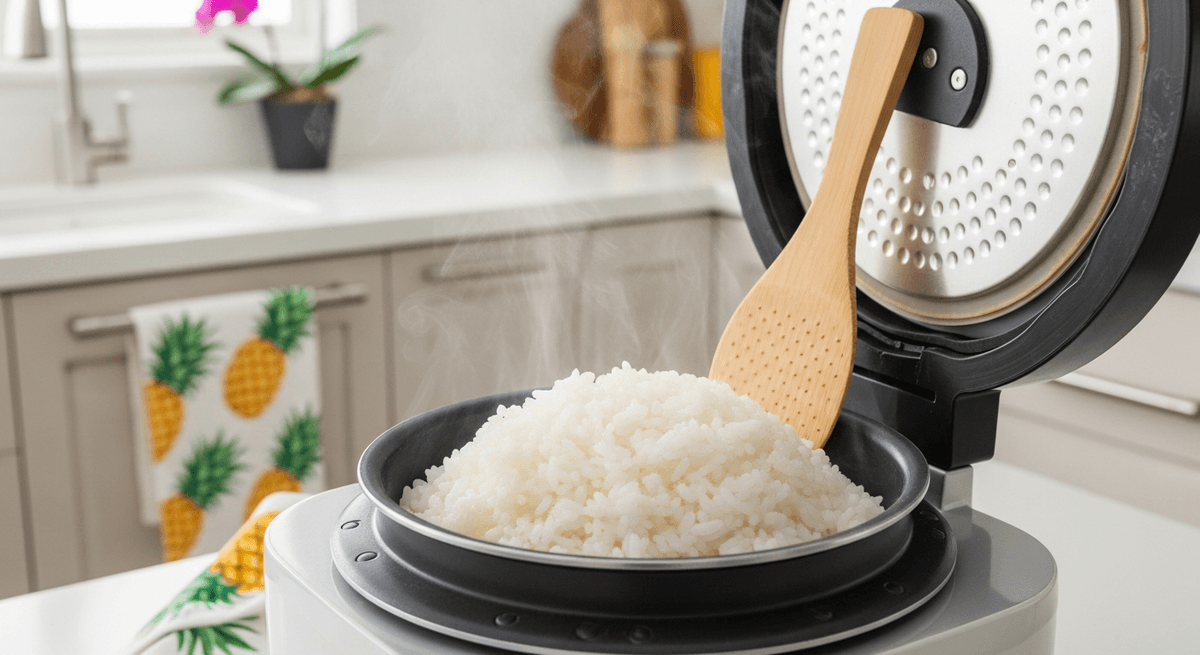
Rice Cooker Method
There’s a reason every Hawaiian household has a rice cooker, it’s foolproof. If you don’t have one, our rice cooker guide covers the best options for island-style cooking.
The Ratio
Most rice cookers have measuring cups (which are about 3/4 of a standard US cup) and water level lines inside the pot. Use the lines. They’re calibrated for the specific cooker and work better than any generic ratio.
If your cooker doesn’t have lines: use 1 cup rice to 1 cup water (rice cooker cups) or 1 cup rice to 1¼ cups water (standard US measuring cups) for washed Calrose.
The Steps
- Wash the rice in the inner pot.
- Add water to the correct line.
- Close the lid, press the cook button.
- When it switches to “warm,” let it rest for 10 minutes before opening.
- Fluff and serve.
That’s genuinely all there is to it. The rice cooker handles temperature adjustments automatically.
Seasoned Sushi Rice (For Musubi and Poke Bowls)
Plain steamed rice works for plate lunches and most meals, but musubi, poke bowls, and sushi-style preparations call for seasoned rice. The seasoning is simple:
Sushi Rice Seasoning (for 3 cups cooked rice)
- 3 tablespoons rice vinegar
- 1 tablespoon sugar
- 1 teaspoon fine sea salt
Combine the vinegar, sugar, and salt in a small bowl and microwave for 20 seconds (or stir until dissolved). While the rice is still hot, drizzle the seasoning over it and fold gently with a rice paddle using cutting motions. Fan the rice as you fold to cool it down, this gives it the characteristic glossy sheen.
For musubi specifically: Use slightly less seasoning (about 2 tablespoons vinegar) — musubi rice should be subtly seasoned, not overtly vinegary. The Spam and nori provide plenty of flavor. Check our musubi variations guide for more tips.
Troubleshooting
Mushy, Wet Rice
Cause: Too much water, or you didn’t wash the rice. Fix: Next time, reduce water by 2 tablespoons. Make sure you’re washing 3-4 times. For this batch, spread it on a sheet pan and let the excess moisture evaporate for a few minutes, or save it for fried rice tomorrow.
Crunchy, Undercooked Rice
Cause: Not enough water or you lifted the lid during cooking, releasing steam. Fix: Sprinkle 2-3 tablespoons of water over the rice, cover, and cook on the lowest heat for another 5 minutes. Rest for 10 minutes.
Burnt Bottom
Cause: Heat too high, or a thin-bottomed pot. Fix: Use the lowest burner setting after bringing to a boil. A heavy-bottomed pot or rice cooker eliminates this problem entirely.
Rice Sticking to the Pot
Cause: You didn’t let it rest after cooking. Fix: Always rest 10 minutes with the lid on. The steam loosens the bottom layer. Then fluff, it should release easily.
Storage and Reheating
- Same day: Keep in the rice cooker on “warm” for up to 4 hours. After that, quality drops.
- Refrigerator: Transfer to an airtight container. Good for 3-4 days. Cold rice is actually ideal for fried rice, the dried-out texture fries better than fresh.
- Reheating: Sprinkle a few drops of water over the rice, cover loosely, and microwave in 1-minute intervals. Or steam it: place in a colander over simmering water for 5 minutes.
- Freezer: Portion into zip-lock bags, press flat, freeze for up to 2 months. Reheat directly from frozen in the microwave.
Now Build a Plate
With perfect rice in your cooker, the rest of Hawaiian cooking opens up. Pile it next to shoyu chicken and mac salad for a proper plate lunch. Press it into a musubi mold for Spam musubi. Scoop it into a bowl and top with ahi poke. Or keep it simple: rice, Spam, and eggs — breakfast of champions.
Rice is the one thing you’ll cook more than anything else in a Hawaiian kitchen. Might as well get it right.