
If you grew up in Hawaii, your first mochi ice cream probably came from one of two places: a shave ice shop where they sat in the freezer case next to the azuki ice bars, or from a Bubbies box your mom grabbed at Foodland on the way home from the beach. Either way, that first bite was unforgettable, the soft, slightly sticky mochi shell giving way to cold, creamy ice cream inside. It was like nothing else, a texture experience that rewired your brain and made you an instant convert. I still remember peeling back the plastic wrap on my first mochi ice cream at Sandy Beach, the green tea flavor melting just enough from the sun to be perfectly soft, and thinking, “This is the greatest thing anyone has ever invented.”
What a lot of people on the mainland don’t realize is that mochi ice cream is a Hawaiian creation. Sure, mochi itself comes from Japan, it’s been a part of Japanese New Year celebrations for centuries. But the genius idea of wrapping it around a ball of ice cream? That happened right here in the islands, where Japanese and Hawaiian food traditions have been blending and inspiring each other for generations. Frances Hashimoto of Mikawaya in Los Angeles often gets credit, but Bubbies Homemade Ice Cream in Honolulu was pioneering the concept around the same time in the early 1990s. Hawaii’s version leaned into tropical flavors — haupia, mango, lilikoi and created something that was unmistakably island-born.
Making mochi ice cream at home is one of those projects that sounds intimidating but is actually a lot of fun, especially with kids or friends helping. The mochi dough comes together in minutes, the ice cream scooping is straightforward, and the wrapping gets easier with every piece. By the time you’ve finished a batch, you’ll wonder why you ever paid six dollars for a tiny box of three at the store.
What Makes Mochi Ice Cream Special
It’s all about the contrast. The mochi shell is soft, chewy, and slightly sweet — made from mochiko (glutinous rice flour) that gets steamed or microwaved into a stretchy, pliable dough. Inside, the ice cream is cold, creamy, and packed with flavor. That combination of warm-textured mochi and cold ice cream hitting your taste buds at the same time is what makes this treat addictive. There’s a reason it went from a Hawaiian specialty to a nationwide obsession you can now find in every Trader Joe’s freezer section.
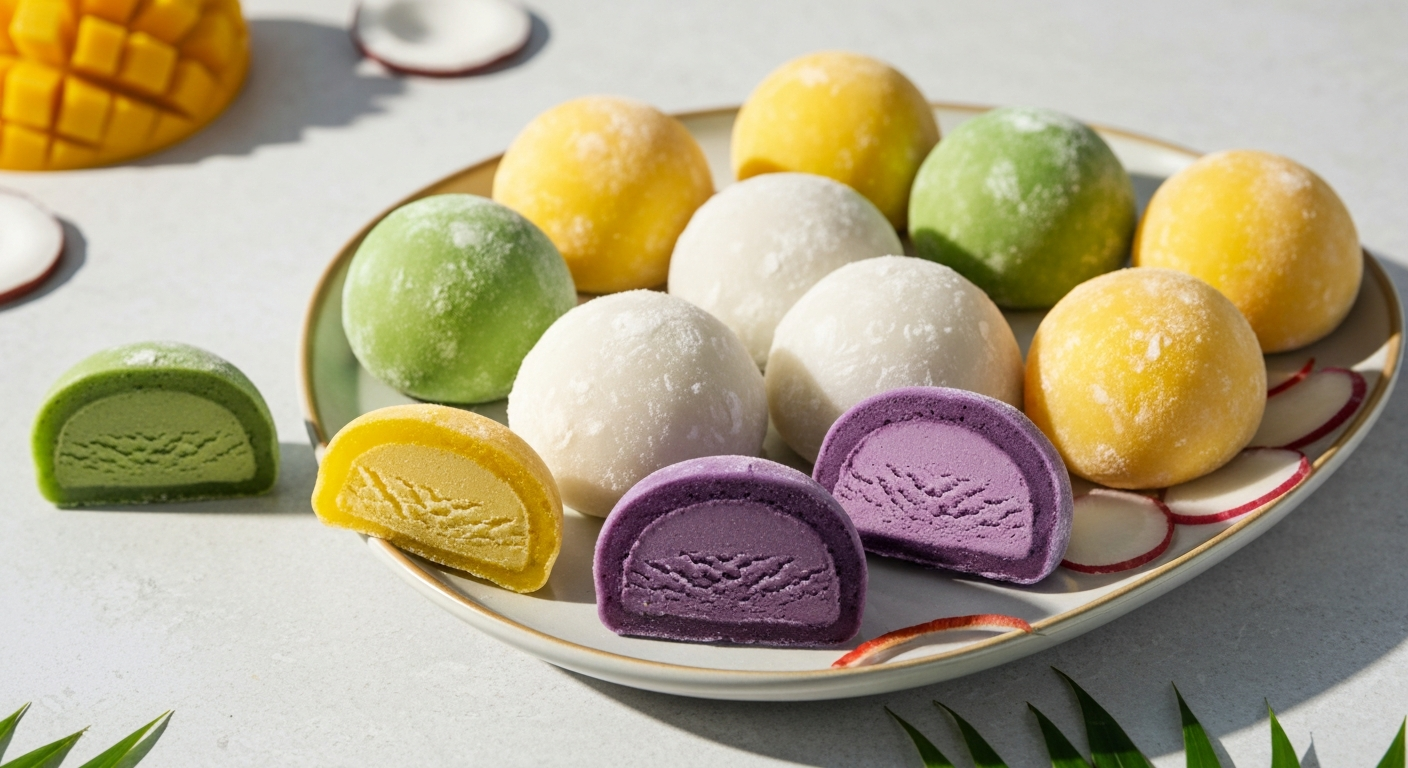
The real magic, though, is in the flavors. While you can absolutely use any ice cream you love, the Hawaiian-inspired variations are where mochi ice cream truly shines. Haupia coconut, with its silky richness. Lilikoi passion fruit, bright and tangy. Mango, sweet and tropical. Green tea, earthy and sophisticated. Each flavor tells a different story about Hawaii’s deep food culture, a place where Japanese precision meets Polynesian warmth and everything tastes better.
The Hawaiian Mochi Tradition
Mochi has been part of Hawaii’s food culture since the first Japanese immigrants arrived to work the sugar plantations in the late 1800s. They brought with them the tradition of pounding mochi rice into soft, sticky cakes, a practice called mochitsuki that still happens in communities across the islands every New Year. Over the decades, Hawaiian mochi evolved in its own direction. Butter mochi became a beloved local dessert. Chi chi dango showed up at every potluck. And eventually, some brilliant soul decided to wrap mochi around ice cream, and the rest is sweet, frozen history.
Today, mochi ice cream is one of Hawaii’s greatest culinary exports. Bubbies, the Honolulu-based brand, helped popularize it far beyond the islands. Walk into any convenience store in Hawaii and you’ll find at least three or four varieties in the freezer. It’s the treat that bridges generations — grandma remembers making plain mochi by hand, the kids are obsessed with the ice cream version, and everyone agrees it’s one of the best things about living in the islands.
Mochi Dough
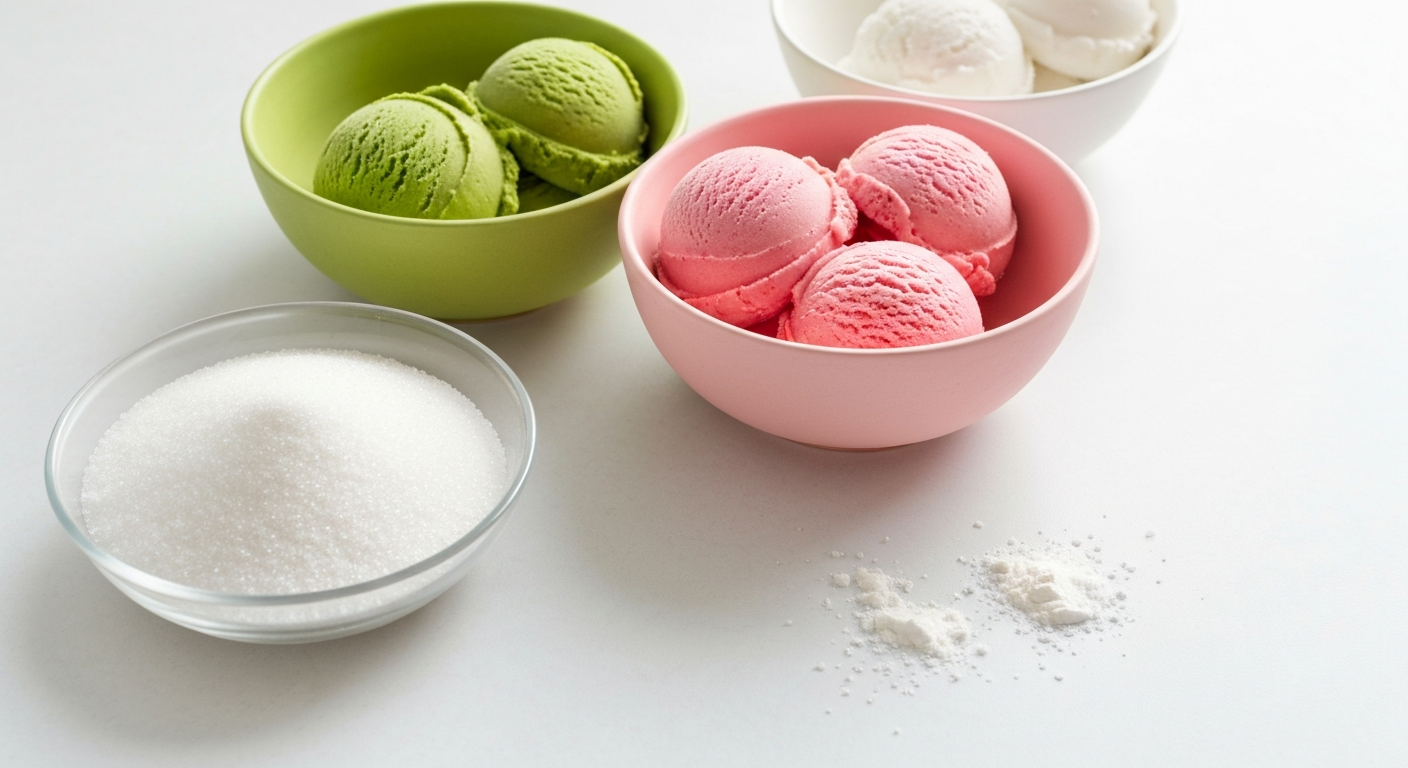
Ice Cream Fillings (choose your flavors)
Optional Add-Ins and Variations
Pre-Scoop the Ice Cream
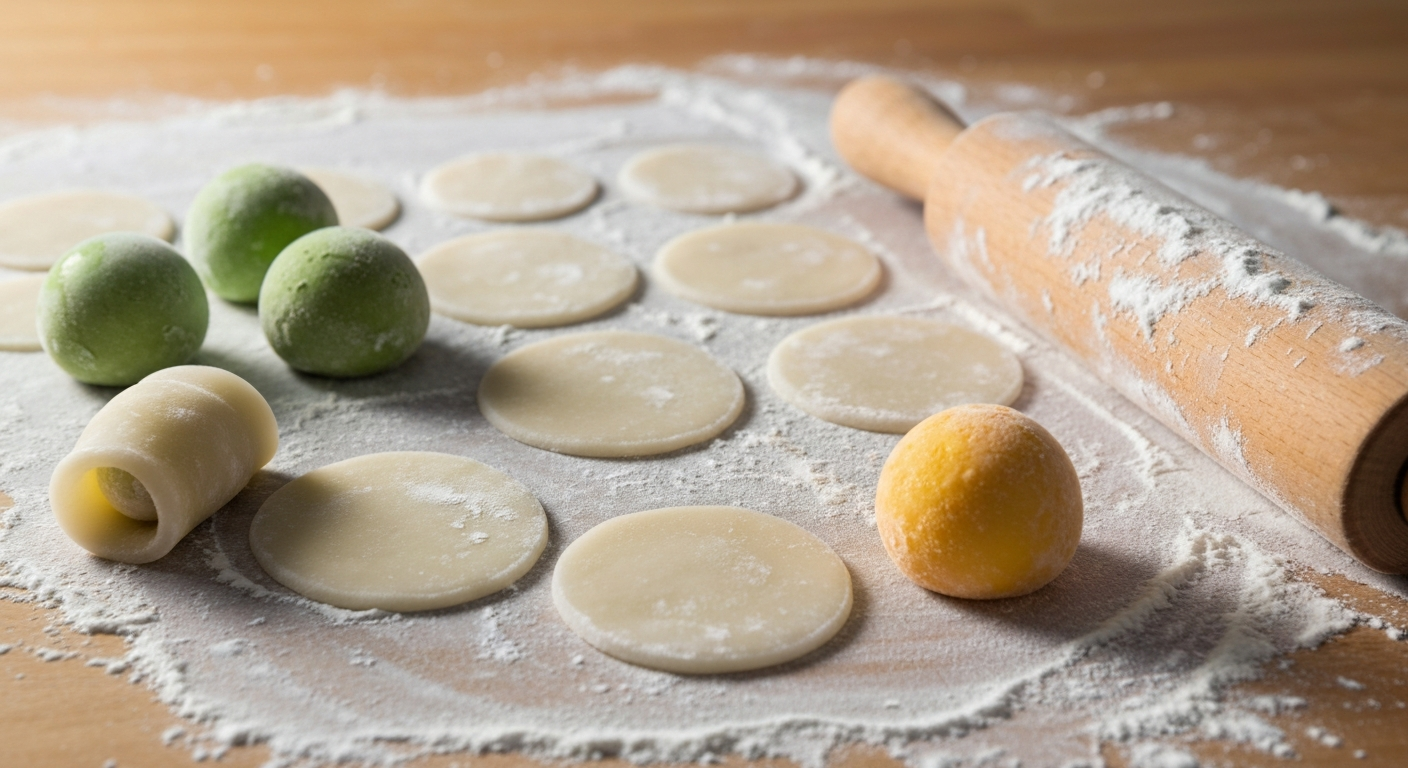
Make the Mochi Dough
Roll and Cut the Mochi
Wrap the Ice Cream
Tips for Perfect Mochi Ice Cream
- Keep everything cold: The number one key to success is temperature. Freeze the ice cream balls rock-solid before wrapping, and if things start getting melty during assembly, pop everything back in the freezer for a few minutes.
- Don’t skip the starch: Mochi dough is incredibly sticky. Be generous with your cornstarch or potato starch when rolling and handling. Shake off excess starch before wrapping around ice cream.
- Use mochiko, not regular rice flour: Mochiko (glutinous sweet rice flour) is essential. Regular rice flour won’t give you the stretchy, chewy texture that makes mochi special. Look for the Koda Farms Blue Star brand at Asian grocery stores or online.
- Try colored and flavored dough: Add a tablespoon of matcha powder for green tea mochi, or a teaspoon of ube extract for purple yam mochi. Matching the dough flavor to the ice cream inside is the move.
- Let them sit 5 minutes before eating: Straight from the freezer, the mochi can be a bit firm. Let them sit at room temperature for 5 minutes before serving. The dough softens to that perfect chewy texture while the ice cream stays cold inside.
Serving Suggestions
The beauty of mochi ice cream is that it’s a self-contained dessert — no plates, no utensils, no fuss. Set out a platter of different flavors and let people grab what calls to them. For a party, arrange them on a bed of crushed ice to keep them cold and looking beautiful. Dust a few with li hing mui powder for a salty-sour kick that locals go crazy for.
For a more composed dessert, serve two or three mochi ice cream balls in a bowl alongside some fresh tropical fruit — sliced mango, lychee, and starfruit make it look like something from a fancy resort. A drizzle of chocolate sauce or a sprinkle of toasted coconut doesn’t hurt either. These also make a great dessert for a summer luau, birthday party, or really any gathering where you want to impress without spending hours in the kitchen.
More Tropical Treats
If you’re into Hawaiian-Japanese fusion desserts, you have to try my Butter Mochi — same mochiko magic, completely different (and equally addictive) result. For another frozen island treat, check out my Hawaiian Shave Ice guide for making your own tropical flavors at home. And if you love the tropical flavors in these mochi, my Lilikoi Bars are another irresistible island dessert that pairs perfectly alongside.
Prep Time: 30 minutes (plus 3 hours freezing)
Cook Time: 5 minutes
Total Time: 3 hours 35 minutes
Servings: 10-12 pieces


